
Shio-koji Hummus
It took me years to finally appreciate hummus, but now I don’t know how I lived without it. Back in the UK, the hummus offering is bewildering; you’ll find everything from classic and organic to roasted red pepper or lemon and coriander, with dozens of varieties in between. Curiously, Japan is still largely devoid of hummus. It’s a total mystery given how amazingly healthy chickpeas are as a prebiotic and gut-health hero, but I can’t help thinking a hummus boom isn’t too far away!
My husband is wild about the stuff, so he was delighted when I adapted this Middle Eastern staple and gave it the koji treatment. Unlike many supermarket varieties, this is 100% natural and contains no preservatives. Using shio-koji adds a layer of umami and sweetness as well as the saltiness, resulting in an even deeper and richer flavour. It’s virtually impossible in my house, but if you can make it a day ahead of serving, the flavours and the enzymes in the koji have time to work their magic, making the finished dip even more harmonious. Just a warning: the fridge will need either an alarm or an armed guard installed to ensure there is any left before your guests arrive.
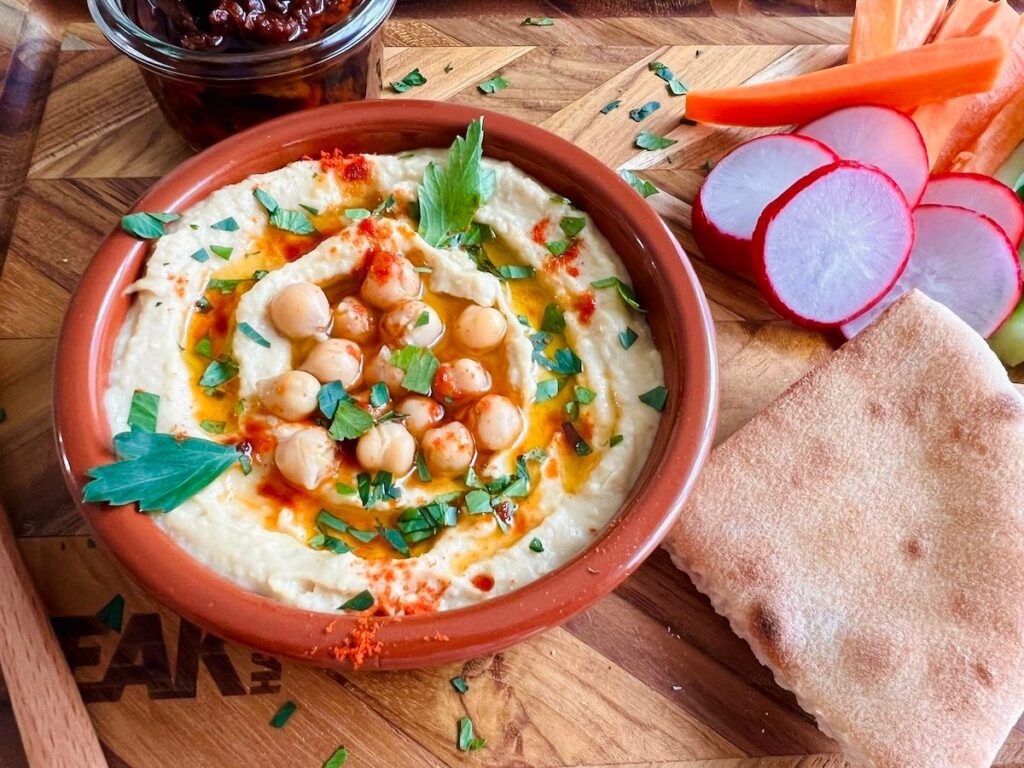
Shio-koji Hummus
Ingredients
The Base
- 200 g chickpeas (cooked/tinned, unsalted and drained)
- 30 g white tahini
- 30 g shio-koji
Aromatics
- 1 tbsp lemon juice
- 1-2 crushed garlic gloves (adjust depending on your love of garlic!)
- Pinch cumin powder
- 1 small ice cube
- 2 tbsp olive oli (extra virgin)
To Serve
- Handful whole chickpeas (a few reserved from the tin
- olive oil for drizzling (extra virgin)
- Pinch paprika powder
- 1 sprig finely chopped parsley
For Dipping
- carrots, cucumber batons, or warm pita bread
Instructions
- Start the Base: Place the drained chickpeas, tahini, and shio-koji into a blender or food processor. Blitz until the mixture begins to break down.
- Add Flavour: Add the lemon juice, garlic, and cumin powder. Blitz again until combined.
- The Secret Step: Drop in the ice cube and blend on high. The ice helps emulsify the fats and aerate the mixture, resulting in a much smoother, paler, and creamier hummus.
- Emulsify: Finally, pour in the 2 tablespoons of olive oil while the blender is running to achieve a glossy finish.
- Plate Up: Dollop the hummus onto a serving dish. Use the back of a spoon to create a swirl or a well in the centre.
- Garnish and Serve: Decorate with the reserved chickpeas, a generous drizzle of olive oil, and a dusting of paprika and parsley.